How to cut the Steel Gutter when fitting a running outlet – including a cutting guide to download and print off:
The options
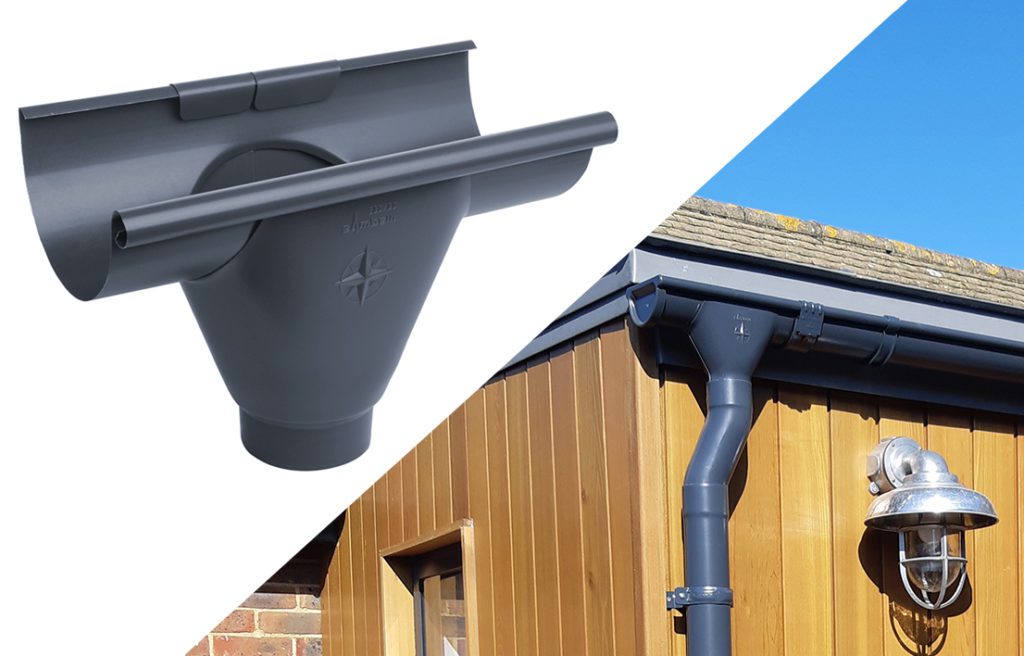
Prefabricated outlet:
You can choose to use the prefabricated outlet and save yourself any cutting…
But you may need to buy an extra gutter union as this’ll need one on either side (unless it’s at the end of a run and is finished/closed off with a stop-end). And it is a little more expensive than the wrap-around outlet.

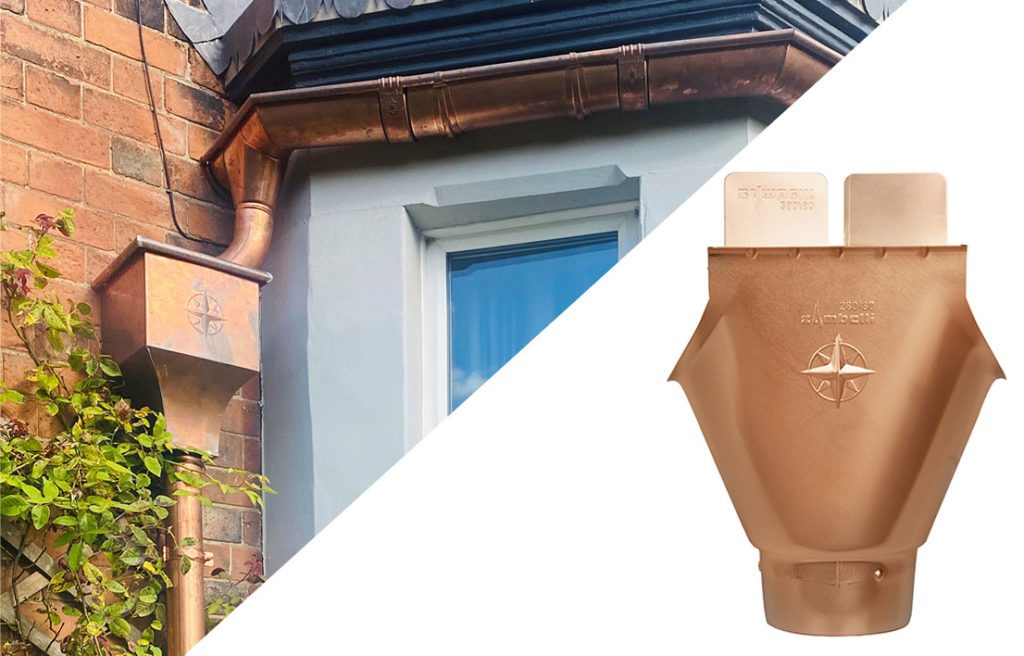
Wrap-Around Outlet
The wrap-around outlet gives you the greatest flexibility as it can be placed anywhere along any gutter length

Innovatively designed to be as easy to install as the usual materials used in the UK without the need to solder or rivet, lengths are just as easy to handle and to cut to size without any specialist tools or equipment. Afterall, the hacksaw was originally designed for cutting metal.
Download Cutting Guide
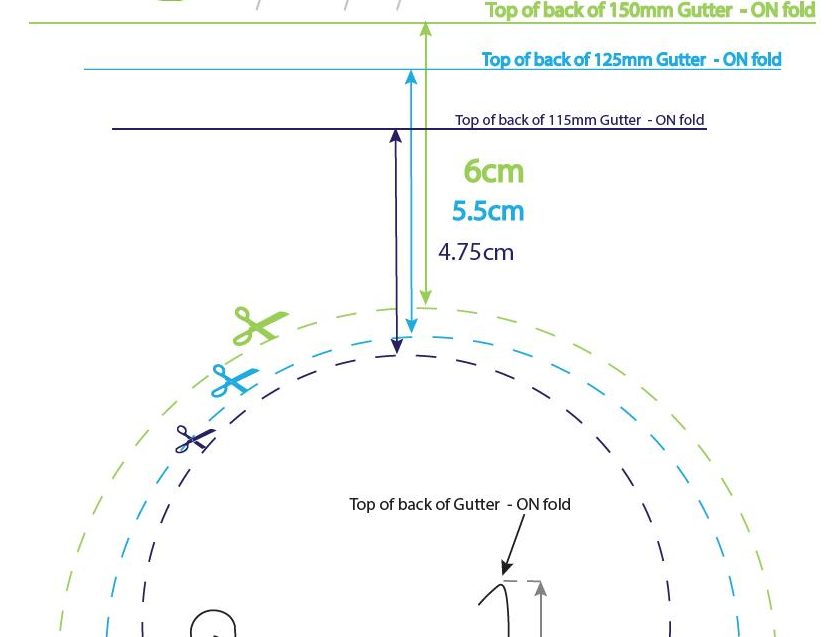
You can choose to download a cutting guide we prepared for you to pint off, cut out and draw around on the gutter – just click here

But you can choose to measure, mark and ‘freehand’ draw the oval in pencil on the gutter surface. Just follow the instructions in the below video (or the instructions in the written video transcript).
Video Transcript
- Remove protective film from gutters (and pipes)
N.B. Galvanised steel must be cut cold. So do not use an angle grinder or spinning blade. Only use a hacksaw, tin snips or a nibbler. - Mark the gutter at the centre point (‘A’) where the downpipe needs to join the gutter for it to drop to the underground drainage immediately below it
- Fit the Outlet on the Gutter centred on mark ‘A’.
N.B. If you’re using the downloaded and printed cutting guide, skip to no.5 now - Mark the Gutter on the outer edges of the Outlet, on the left and the right-hand sides.
Mark the Gutter again 19mm inwards from these original (B&C) markings. - Measure and mark 50 mm up from the gutter edge to the front and to the back (D&E)
Combine with the inner left & right markings (B&C) to mark a circle/oval on the gutter.
(Or you can use the downloaded & printed off PDF cutting guide
Download it from bit.ly/IGSCut_Guide
Cut out on the 100, 125 or 150mm line place on the Gutter to use as a template to draw around centred on the original ‘A’ mark and between the 50mm up from the gutter front and back (D&E) marks - Saw through the middle of the marked area with a hacksaw (through mark ‘A’) deep enough to make an opening for the tin snips to get started
- Next, you’ll cut out the area inside the marks with the tin snips. It helps to ‘dent’ one side of the cut with the snips.
Cut in a spiral, gradually cutting further outwards until you finally reach the marked outline. - ‘Seam’ (bend) the edges back (into the Outlet) with flat pliers. (You can also use a soft hammer to ‘seam’ the inner edges after fitting the Outlet)
- Fit the Outlet on the Gutter.
Centre the cut-out inside the Outlet.
Secure by wrapping Outlet rear flaps over the rear edge of the Gutter, first by hand, and then with the pliers
You can also use a soft hammer to ‘seam’ the inner edges after fitting the Outlet.
For more information contact our friendly, knowledgeable team on 0800 644 44 26 from 8am-5pm Mon-Fri or email [email protected].
Or for Copper & Zinc gutters SHOP NOW (This video guidance applies for Copper and Zinc as well as Galvanised and Colour Coated Steel.)

